
Skim Coat and Ceiling Finishing: What a Level Finish Costs You in Time
A skim coat is a thin surfacing layer, not a repair and not a second ceiling. When a skim coat is required, how it is sequenced, and where it is wasted.
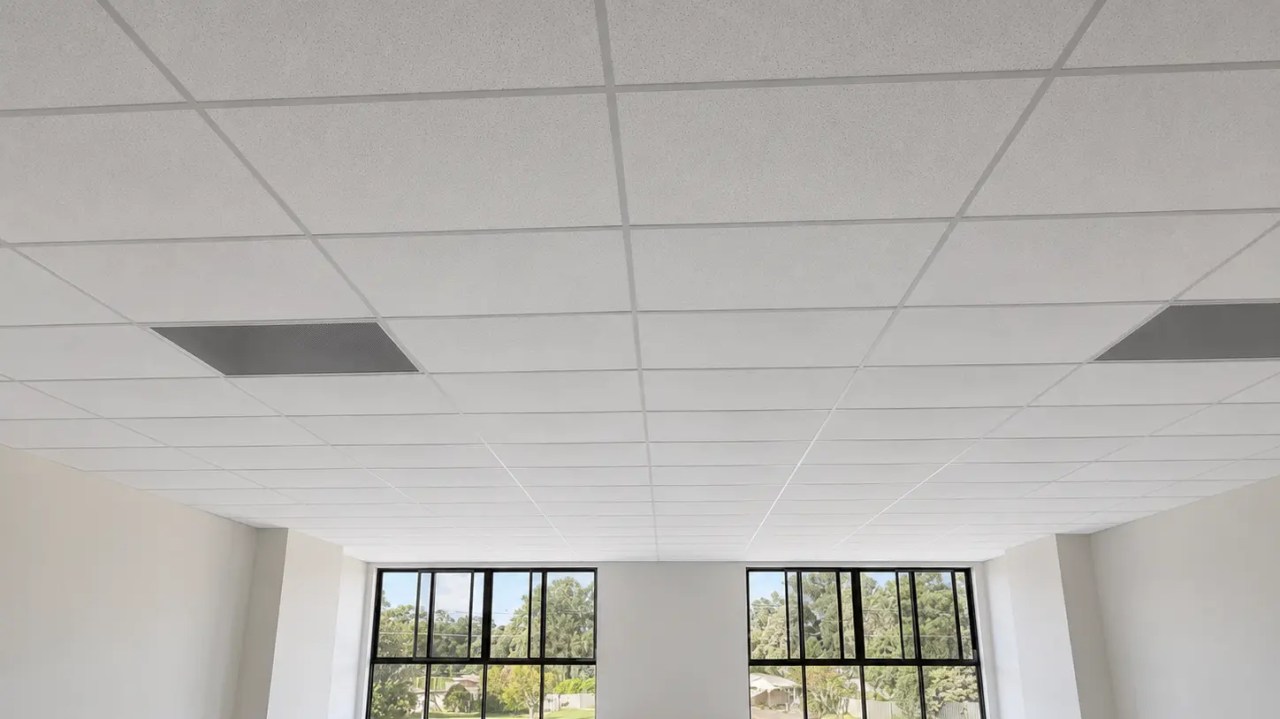
This guide covers what a skim coat can and cannot fix, how compound types differ, the sequence of coats and drying, and the conditions where the work adds cost without improving the finish.
What a Skim Coat Does and Does Not Fix
A skim coat equalises the texture of a surface by applying a thin layer of compound across it; it does not flatten a ceiling that is out of line, strengthen a lining, or conceal a joint that was never taped.
What it solves reliably is a mismatch. Where a ceiling carries board face, jointing compound, patching filler and the painted edge of an older repair, each of those areas absorbs and reflects light differently, and no amount of topcoat makes them read as one surface. A skim coat puts one material over all of them.
What it does not solve is geometry. A ceiling with 6 mm of waviness across a long run will still be 6 mm out after a skim coat, because the layer follows the substrate rather than correcting it. Flattening a ceiling requires reworking the frame or, in some cases, a new lining, and a skim coat applied over a bad ceiling simply produces a smoother version of a bad ceiling.
It also does not substitute for setting. Joints still need tape and the standard coating sequence before any surface coat goes on, and a skim coat over an untaped joint will crack along the same line within a season. Nor is it a substitute for an undercoat: the sealing and priming sequence for the surface still applies, and the painting and decoration guidance for plasterboard sets out where the surfacing step sits within it.
Compound Types Compared
Compounds differ in how they set, how much they shrink and how hard they sand; the choice is driven by the pass being made rather than by brand preference.
Ready-mixed all-purpose compounds are the general workhorse: they bond well, sand easily and suit the broad passes over joints and patches. Topping compounds are softer and intended for the final thin passes, which is what makes them easy to sand to a feathered edge. Rapid-setting compounds are used where a stage has to be completed in one visit, and they are harder to sand, which makes them less suitable for the finishing pass.
Specialist surfacing products exist specifically for the skim step. The purpose-made surfacing compound in the manufacturer’s jointing range is representative, and a repair compound from the same family is useful for filling local defects before a surface pass rather than during it. Products that are designed to be spread thin behave predictably when they are; the same products applied thickly shrink and crack.
| Pass | Product type | Why |
|---|---|---|
| Bedding tape and filling joints | All-purpose or base compound | Bonds well, holds tape, tolerates a heavier build |
| Local repairs and small losses | Fast-setting repair compound | Can be finished and coated in the same visit |
| Final feathering pass | Topping compound | Soft, sands cleanly, produces a feathered edge |
| Full-width surface pass | Surfacing or skim product | Designed to spread thin and dry evenly |
Substrate Preparation Before the First Pass
Preparation is the difference between a skim that holds and one that peels: the surface must be sound, clean, dry and free of anything that will prevent the compound from bonding.
Start by removing what should not be there. Loose plaster, flaking paint, dust from cutting, and any trace of grease or silicone will all fail the bond locally, and the failure appears later as a blister or a peeling patch rather than as an obvious defect. Where an older ceiling has been painted with a high-sheen coating, the surface is usually abraded or primed so the compound has something to grip.
Then check the substrate for movement. A board that is not properly fixed will move under the compound and crack the surface regardless of product choice, so the fixings should be checked and any over-driven fixings made good before the first pass. Where a ceiling has been water-affected, the substrate has to be assessed and repaired first; a surface coat over damaged board hides the problem until it returns.
Damp is the third condition. Compound applied over a damp surface will not cure as intended, and where the dampness is coming from above the ceiling, the source has to be resolved first. Our approach to water-affected ceilings is to record the extent and the cause before any finishing work is priced, because a surfacing coat is a finishing decision and not a repair.
Coats, Drying and the Sanding Sequence
Thin coats, complete drying between them, and sanding only between the stages that need it: skimming is slow because each layer has to dry and because rushing the sequence produces the defects the work was intended to remove.
The sequence starts with the joint treatment, which is a separate operation from the surface pass. Tape is bedded and coated, and those coats are allowed to dry and are sanded back before anything is applied across the whole surface. The surfacing pass then goes on in one or two thin applications, each carried across the full width rather than feathered into the field, because the point of the pass is uniformity.
Drying is the stage that gets compressed under programme pressure. Compound that is still damp when the next coat goes over it traps moisture, and the surface then either blisters or dries with a different texture at that spot. Where the programme is genuinely tight, the correct response is to use a fast-setting product for the earlier passes and keep the final pass on a normal product, not to shorten the drying time.
Sanding belongs at the end, with the surface inspected under the lighting the room will use. Where a surface passes that inspection, the decoration can proceed; where it does not, another thin coat costs less than a heavier sanding pass, which risks sanding through the layer that was just applied.
Dust, Containment and Working in an Occupied Room
Skimming produces fine dust and needs a containment strategy before the work starts, because the sanding stage is the point at which an occupied house becomes unpleasant and the point at which most damage to finishes happens.
Contain the work area with plastic sheeting and seal the doorways, and move or cover what cannot be moved. Floor protection matters more than it appears to, because compound dust is fine, travels, and settles into everything including carpet, and walking it through the house spreads it further than the work itself. Where possible, route access so the trades do not pass through finished areas.
Ventilation is the other half. Compounds need to dry, and drying is faster and more even where air moves through the space, so the containment has to allow for ventilation while still stopping dust from escaping. In an occupied home, arrange the sequence so the sanding stage is completed in as few visits as possible.
Working in an occupied room is also a productivity question. Furniture, curtains and floor coverings all have to be moved and replaced, which adds time around the actual work. Where the room has to be used during the job, the daily make-good is usually a larger share of the programme than the skimming itself. The hazards around dust and safe access to ceilings during this kind of work are covered in the Safe Work Australia hazard guidance.
Level 5 Finish and Glancing Light
A surfacing or skim pass is the mechanism by which a level 5 finish is achieved over a lined ceiling, and it exists because glancing light reads texture and ridges that nothing else reveals.
The finish levels used in construction run from a basic jointed finish through to level 5, which adds a full-width surfacing treatment so the joints and the field present identical texture. The standard defines the levels; the project documentation names which applies and where. Where a level 5 finish is specified for a ceiling, the skim step is not optional and cannot be replaced by extra care at the jointing stage.
What the level buys is performance under light. A ceiling lit from a wall-washer, a highlight window or a wall-mounted fitting at the far end of the room shows every discontinuity, and the difference between a level 4 and a level 5 surface is only visible in those conditions. In a room lit straight down from the ceiling, the same two surfaces are indistinguishable.
That is why the finish level and the lighting design should be decided together. Specifying level 5 across a whole house is usually unnecessary; specifying it in the two or three rooms with glancing light is the practical approach. The installation and finish requirements behind the linings themselves are set out in the National Construction Code and in the standards published through Standards Australia.
Where a Skim Coat Is a Waste of Money
A skim coat is wasted on a ceiling that is out of line, on a joint that was not taped, and on any surface where the problem is moisture, movement or a structural defect rather than texture.
The first case is the most common. Where a ceiling dips over a run, a surface layer follows the dip and the defect remains, now with an added cost. The correct answer is to rework the frame or replace the affected lining. Where a ceiling has been skimmed to hide a sag, the sag is usually visible again within a season, because the cause was never addressed.
The second case is a joint that has cracked because it was rigidly fixed or never taped. A surface coat over the crack will crack in the same place, because the movement that caused it is still present. The repair is to open the joint, tape it and reinstate, which is a jointing operation rather than a surfacing one.
The third covers moisture and contamination. A ceiling with an active leak, or one that has been affected by smoke or chemical residue, needs the affected material assessed and removed before any finishing decision. Our Perth repair work records the moisture history and the affected extent before the finish is discussed, because in these cases the surface work is the last step rather than the solution. For the wider scope of ceiling repair, see the CeilingPro repairs and maintenance service page.

Frequently Asked Questions
What does a skim coat do?
A skim coat applies a thin, even layer of compound across a surface so the substrate presents one texture instead of a patchwork of jointing, filler and board face. It does not add structural strength, does not hide a ceiling that is out of line, and does not replace an undercoat. Its job is to make the surface uniform before decoration.
Do I need to skim coat before painting?
Only where the finish level requires it, or where the substrate has mixed textures. New plasterboard with properly set joints generally paints well without a skim coat. A skim coat becomes necessary where glancing light will cross the surface, where an existing ceiling has been patched repeatedly, or where a level 5 finish has been specified in the contract documents.
Can I skim coat a wall myself?
A small area can be done by a careful owner, and the products are widely available. Ceilings are a different proposition: the work is overhead, the compound dries faster than you can move, and the result is judged under lighting that shows every ridge. Where the surface is a rated assembly or a wet area, the jointing system has to match the assembly and should be done by the trades responsible for it.
What is the difference between skim coat and plastering?
Plastering is the application of a plaster material to form or restore a surface, and it is measured in millimetres of build. A skim coat is a surfacing layer usually under a millimetre thick applied over an existing lining. Solid plastering builds the wall or ceiling surface itself; a skim coat only changes how the existing surface reads.
If you need a Perth ceiling assessed before finishing work is specified, send photographs with a scale and the room lighting condition through the CeilingPro enquiry form, or email info@ceilingpro.com.au. We record the cause before recommending a finish.
Related articles
 Plasterboard Installation: Board, Framing and Fixing DecisionsKnowledgeShadow Line Ceilings and Shadowline Cornice: The Detail Behind the GapKnowledge
 Decorative Plasterboard and Plasterboard Cornice: When a Feature Ceiling Needs More Than BoardKnowledgeCornice Moulding and Ceiling Moulding: The Same Job, Three Different TradesKnowledge